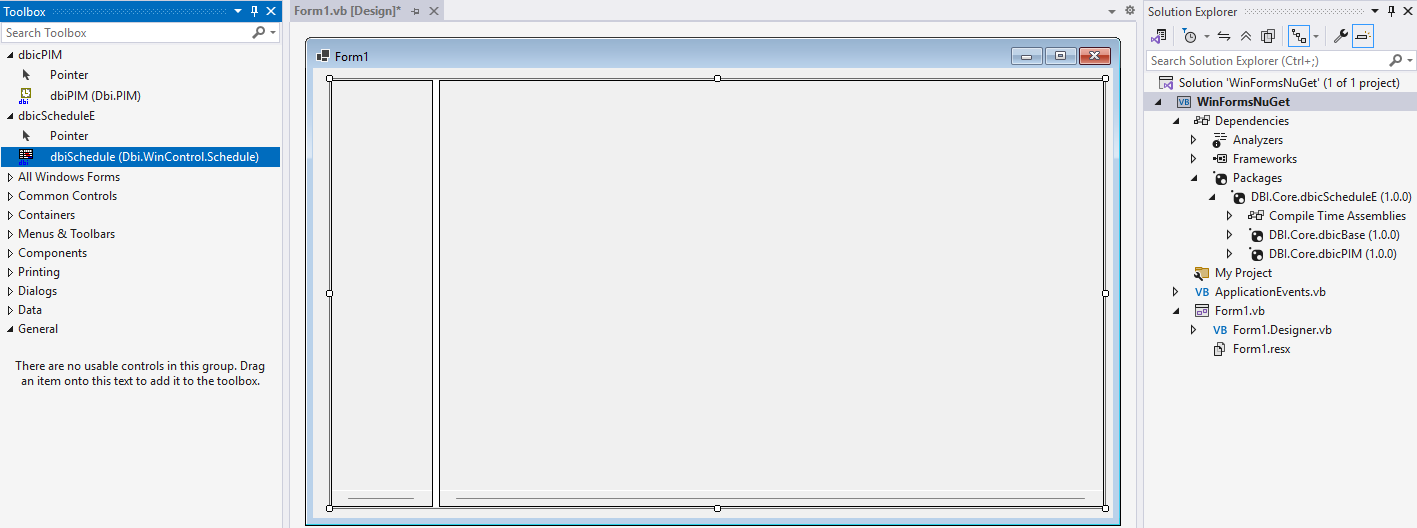
Depending on the version of Visual Studio you are working with, additing the controls to the toolbox may not be as straight forward as in previous versions of Visual Studios.
If you are working in Visual Studio 2026 (as of early 2026), then simply adding references to the assemblies for the controls and base assemblies, should be enough to have Visual Studio 2026 automatically add the control to the toolbox.
If Visual Studio 2026 doesn't automatically add the control to the toolbox, or if you are working in an earlier version of Visual Studio, then we have a few options that developers can use to get the control into a new project.
NOTE: If migrating a project to .NET Core that uses our .NET control, then all you need to do is modify your assembly references to the current relative Core assemblies and the controls will render on your existing forms.
Add through Designer
The first option is to simply add the control to a form via designer code.
NOTE: Before attempting to modify the code of the designer, always make a backup of your project just to be safe.
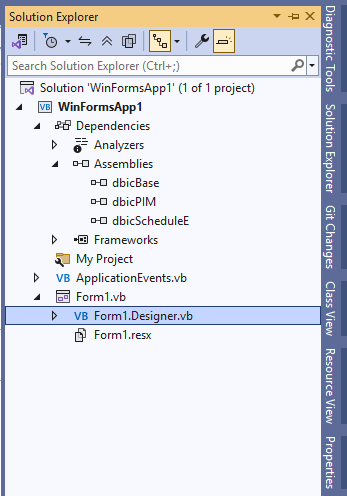
Step 1: Add references to the required assemblies.
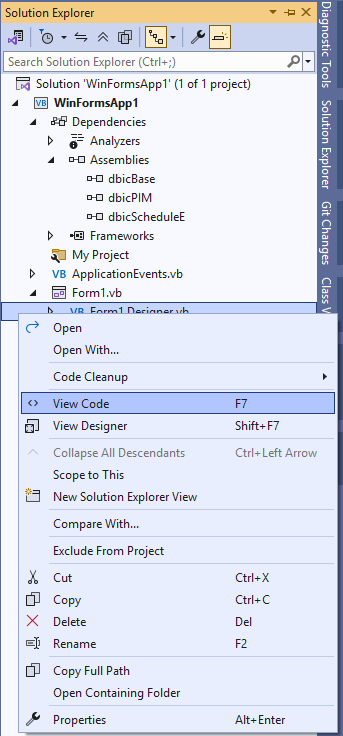
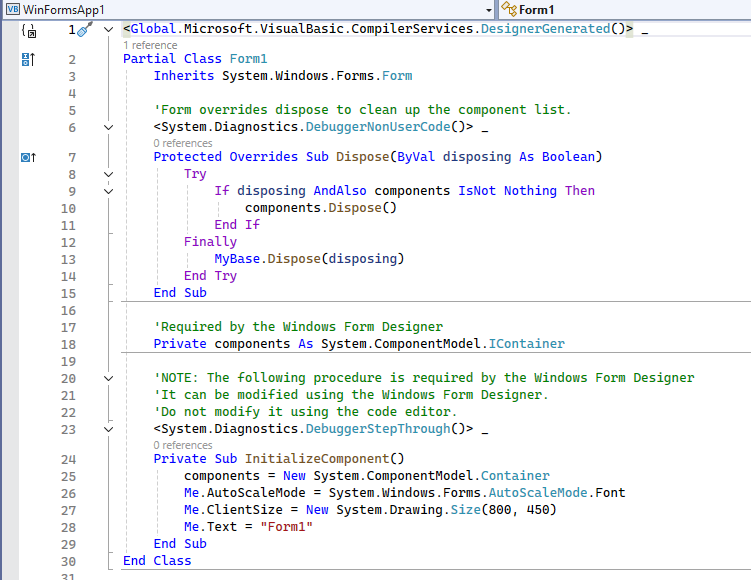
Step 2: Right-click the "designer" file for your form, and select "View Code" from the context menu
VB .NET
C#
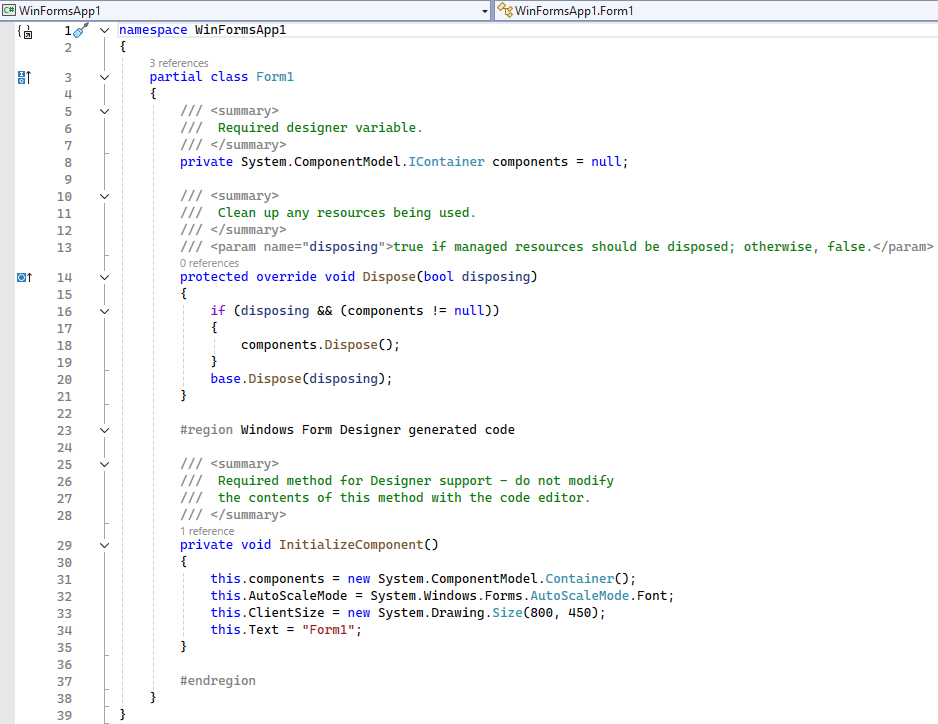
Step 3: Declare the instance of the control at the bottom of the code page.
VB .NET

C#

Step 4: Instantiate the instance of the control during the InitializeComponent routine.
VB .NET

C#

Step 5: Code a minimum amount of properties to ensure the control is added and displays on the form in the designer.
VB .NET
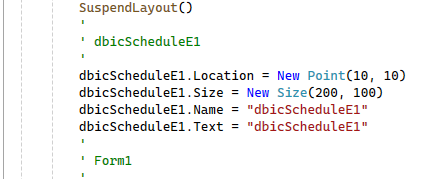
C#
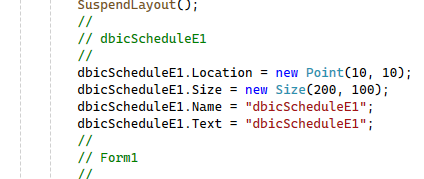
Step 6: Add code to place the new instance in the form's controls collection.
VB .NET
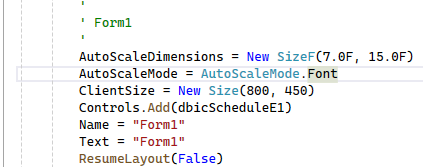
C#
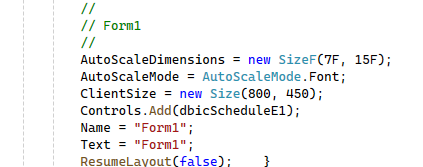
Step 7: Save your changes and open the form in design time (if you are using a demo control, the demo dialog will display at this time.).
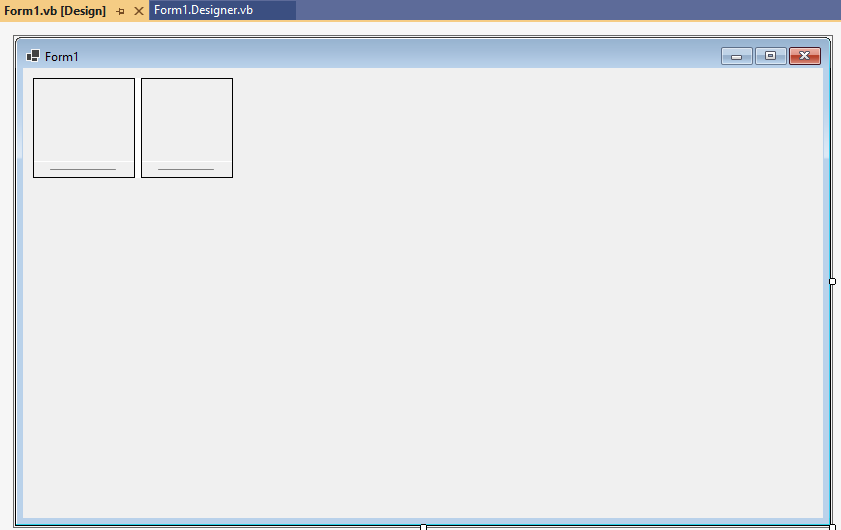
You can now make any further changes to the control in design mode, and can run the form.
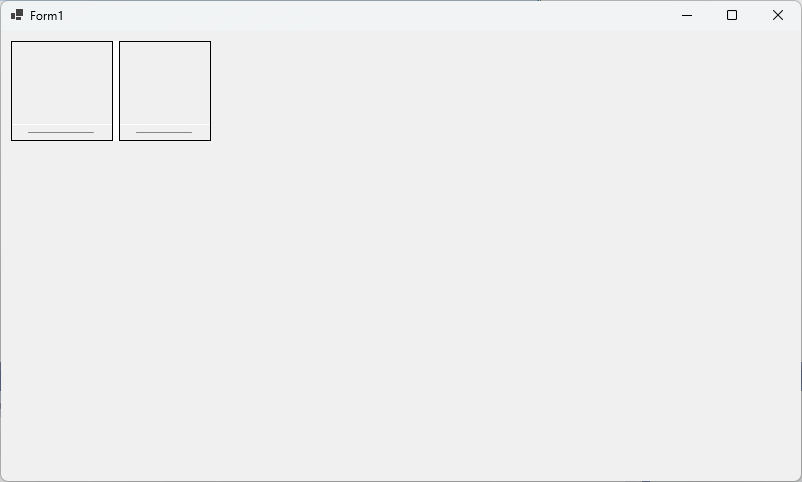
Add from other Instance
The second option is to copy an instance of the control from an existing instance.
Step 1: Add references to the required assemblies.
Step 2: Open the form where the current instance exists. It can be in the same project (same form even) or in a completely different project.
Step 3: Select the control and copy it (Ctrl+C, right-click and select Copy, etc...).
Step 4: Open the form where you want to add the control and paste it (Ctrl+V, right-click and select Paste, etc...).
Add from local NuGet
The third option is to reference the control via a NuGet package, which Visual Studio will then use to add it to the toolbox.
We supply local NuGet packages as part of the product, for just such a requirement, which you can then reference in your projects.
Step 1: Create a local NuGet repository (if you don't already have one)
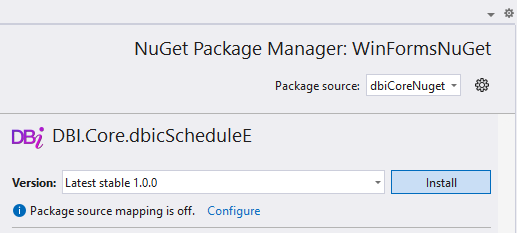
Step 2. Select the desired control's NuGet package (you do not need to add the base assembly NuGets, as the control NuGet packages will automatically reference them as needed)
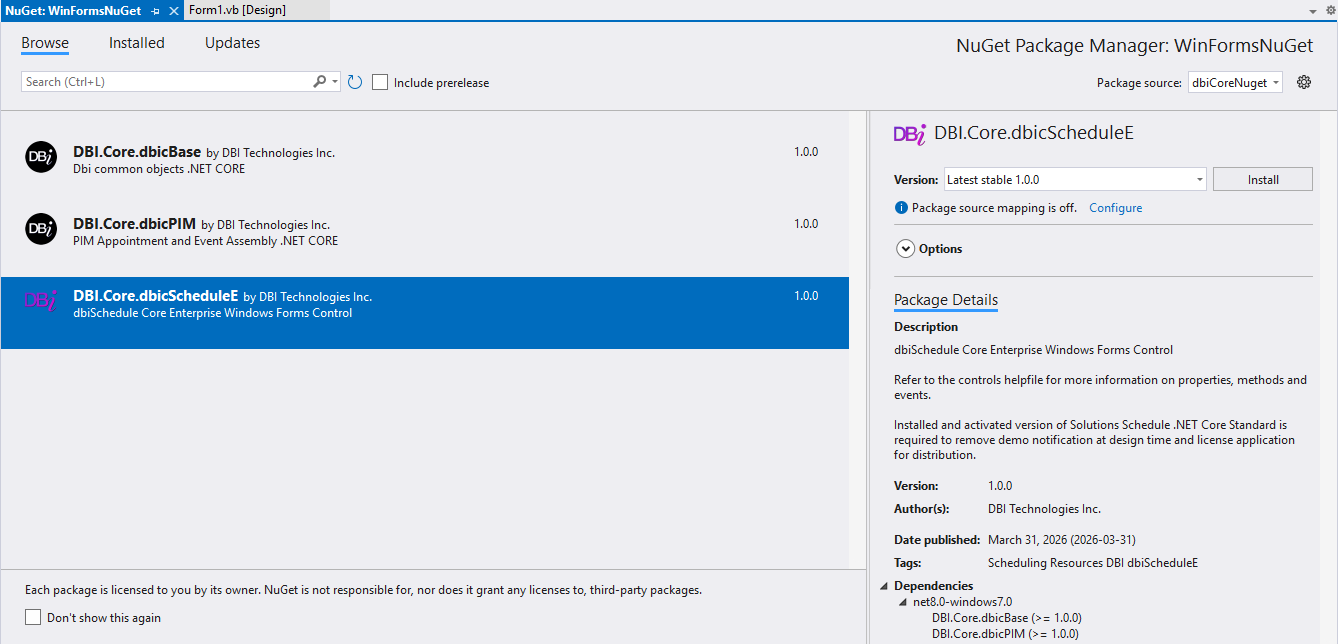
Step 3. Click the "Install" button and follow the prompts to add the NuGet package to your project.
Step 4. Return to the design view of your form, and you will see the control has been added to the toolbox now.
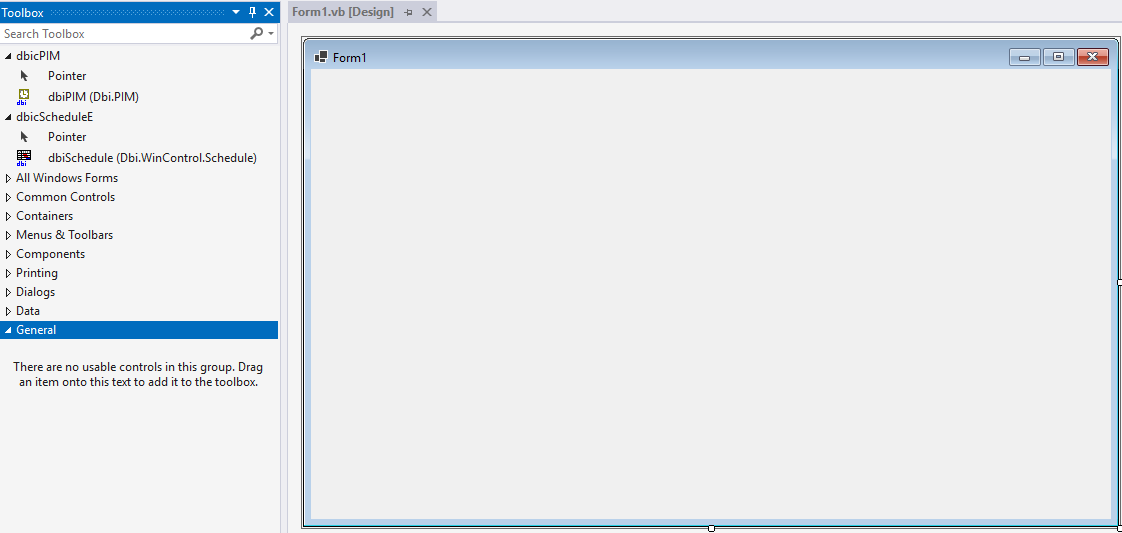
Step 5. Drag and drop the control from the toolbox onto your form, and you are all set.