


To be able to run the NET Core DBI Technologies controls without a demo notificiation, requires a license file to be generated via the respective Product Manager application. Without this file, the control in question will still run, but will enter demo mode (if possible) and display a notification to the user.
To License an application, you need 2 things:
1. An existing .NET Core project (output type = Windows Application)
2. A licensed Product Manager for the respective control.
Open the licensed Product Manager and navigate to the ".NET Core runtime License Builder" tab.
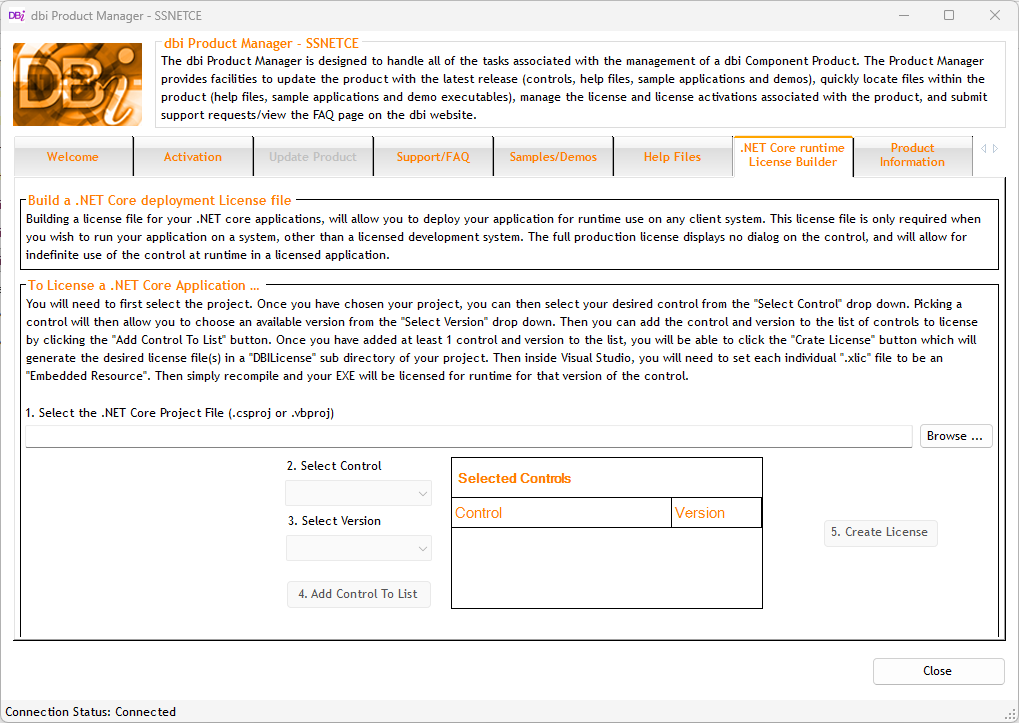
1. Select your .NET Core project (.csproj or .vbproj) using the "Browse..." button.
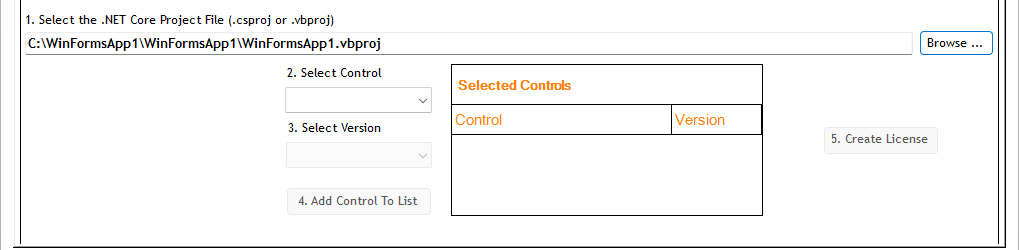
2. Select your control from the "Select Control" drop down.
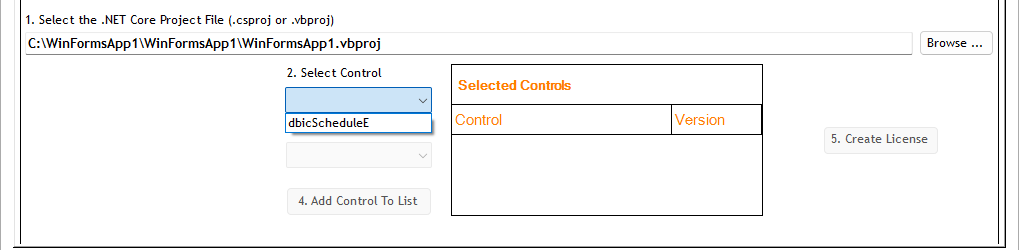
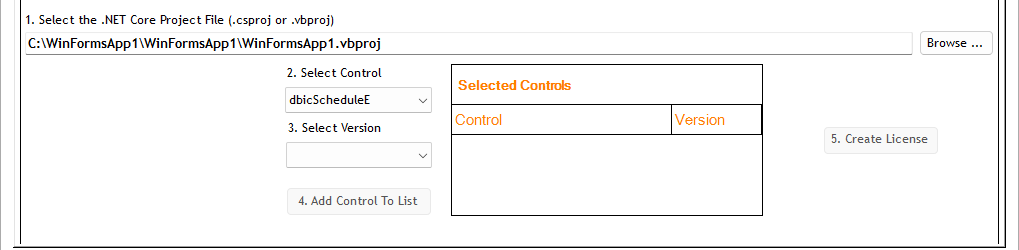
3. Select the version of the desired control from the "Select Version" drop down
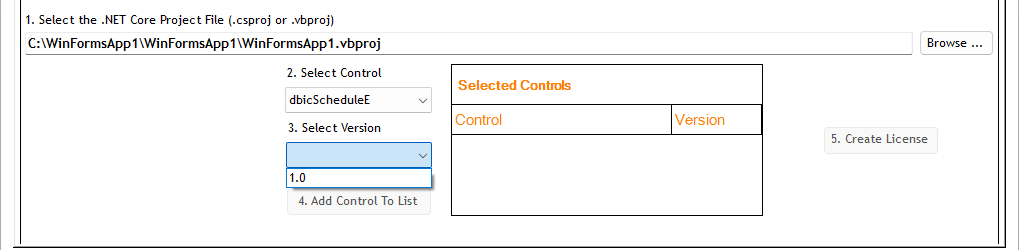
4. Click the "Add Control List" button once you have chosen the control and version.
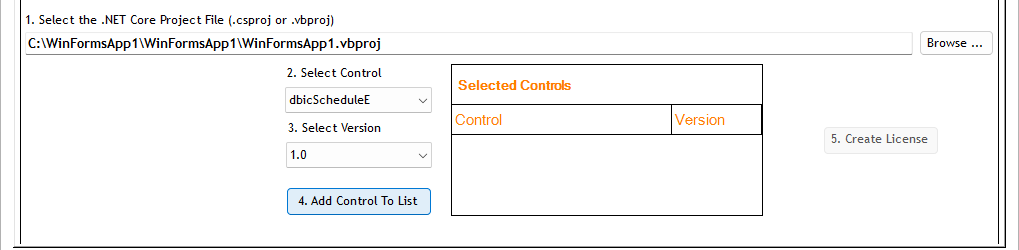
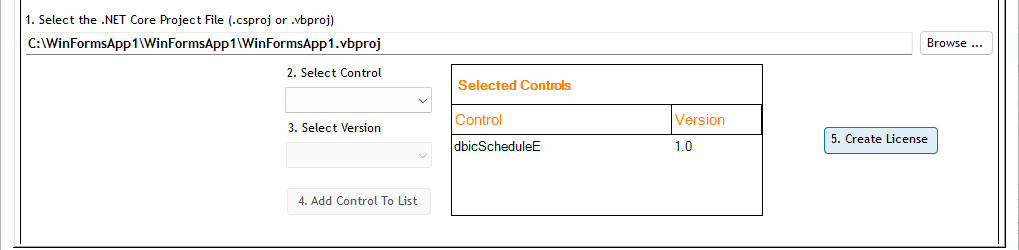
NOTE: Repeat steps 2, 3 and 4 for any additional controls in the current product you wish to license in this project.
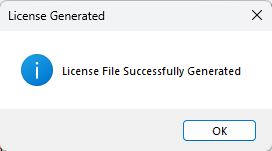
5. Once all desired controls have been added to the list, click the "Create License" button to generate the license file in the project for each control.
6. Now open the project in Visual Studio and look at it in Solution Explorer. There should be a DBILicense sub folder there now containing all the license files generated.
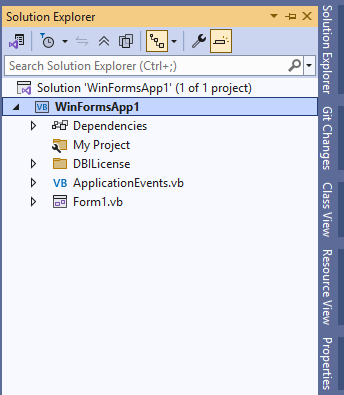
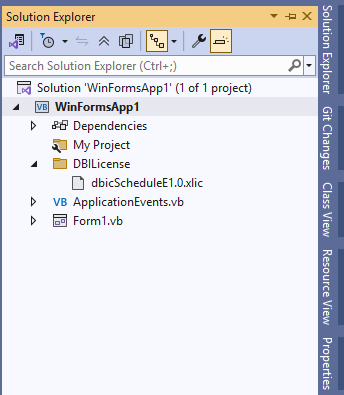
7. Right-click a license file, verify it is included in the project, and then click "Properties" from the context menu.
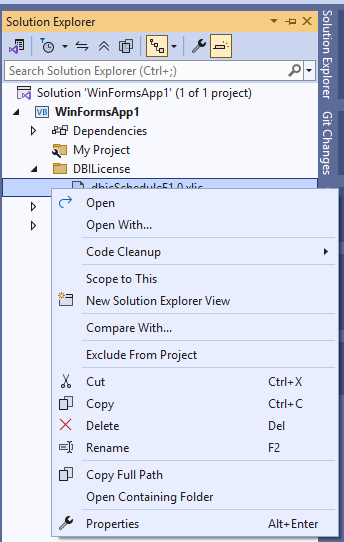
8. Adjust the "Build Action" property for the file to be "Embedded Resource".
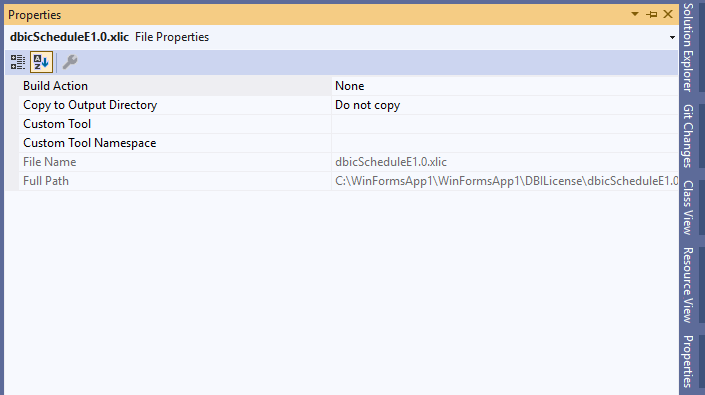
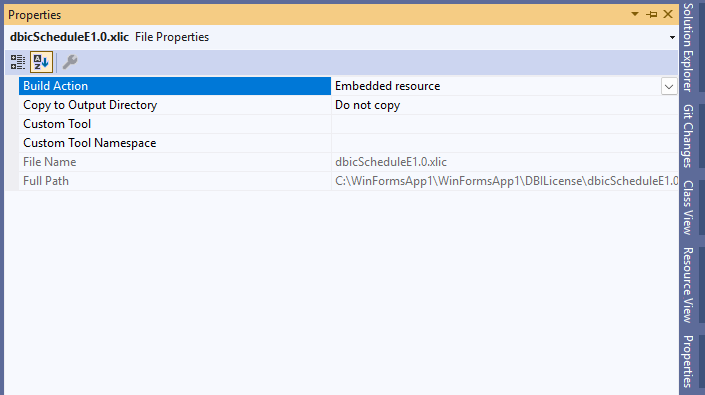
NOTE: Repeat steps 7 and 8 for any additional license files in the project.
Once all license files have had their "Build Action" set, simply rebuild your application. The licensing will now be bound into the application and it is ready for distribution.