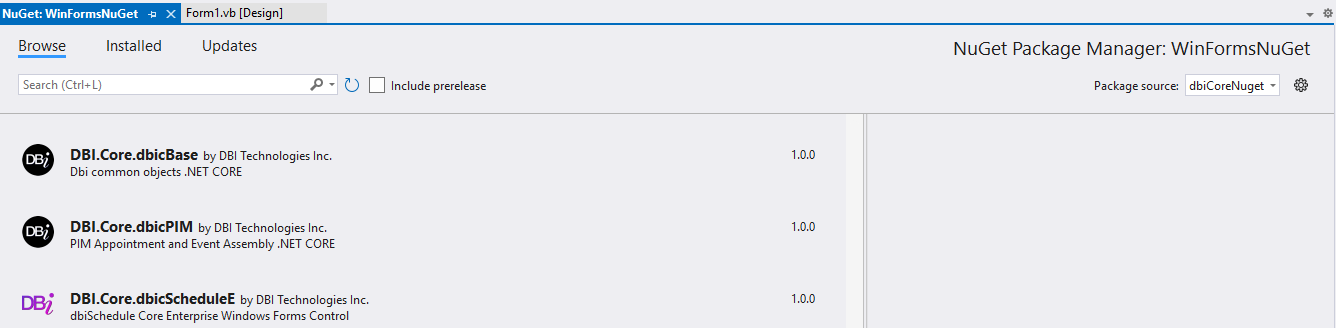
To create a local NuGet repository, please follow these steps:
1. Create a directory on your system (or network location) that you want to use as the repository.
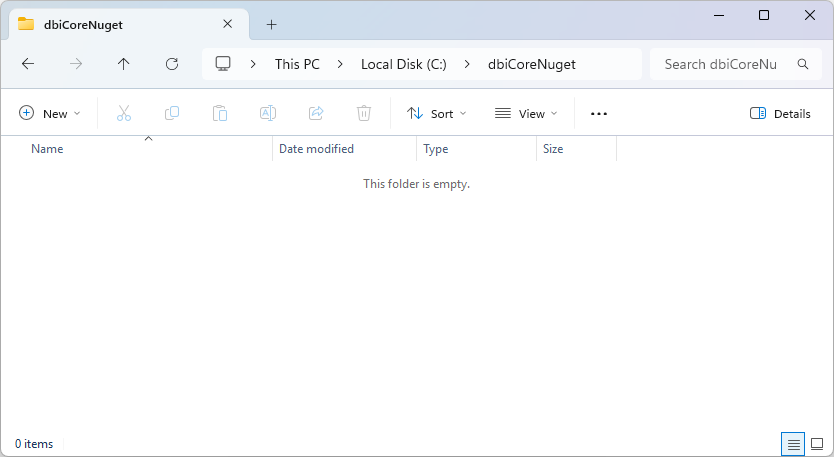
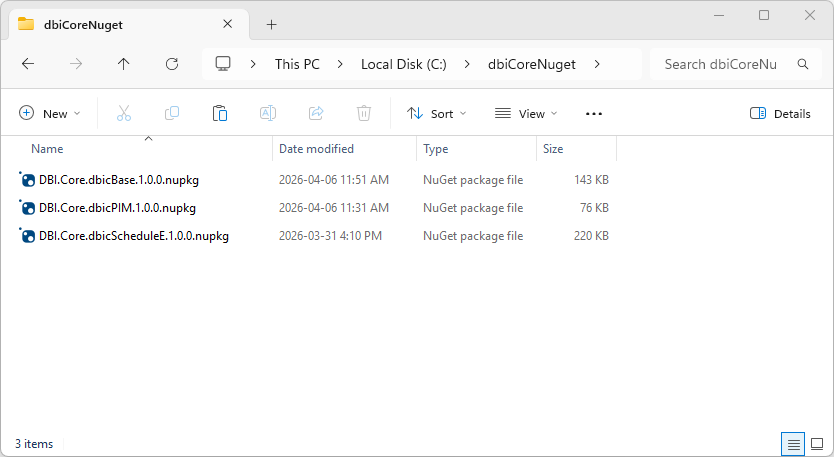
2. Place the desired NuGet packages inside it.
The product includes copies of NuGet packages for the controls and base assemblies for the respective Product controls (they can be found in a NuGet subdirectory under the Product's Components folder (example: "C:\DBITech\Solutions Schedule .NET Core (SSNETCCE)\Components\NuGet")).
3. Open your project in Visual Studio, the control won't currently be in the toolbox, and expand your project in the Solution Explorer Window.
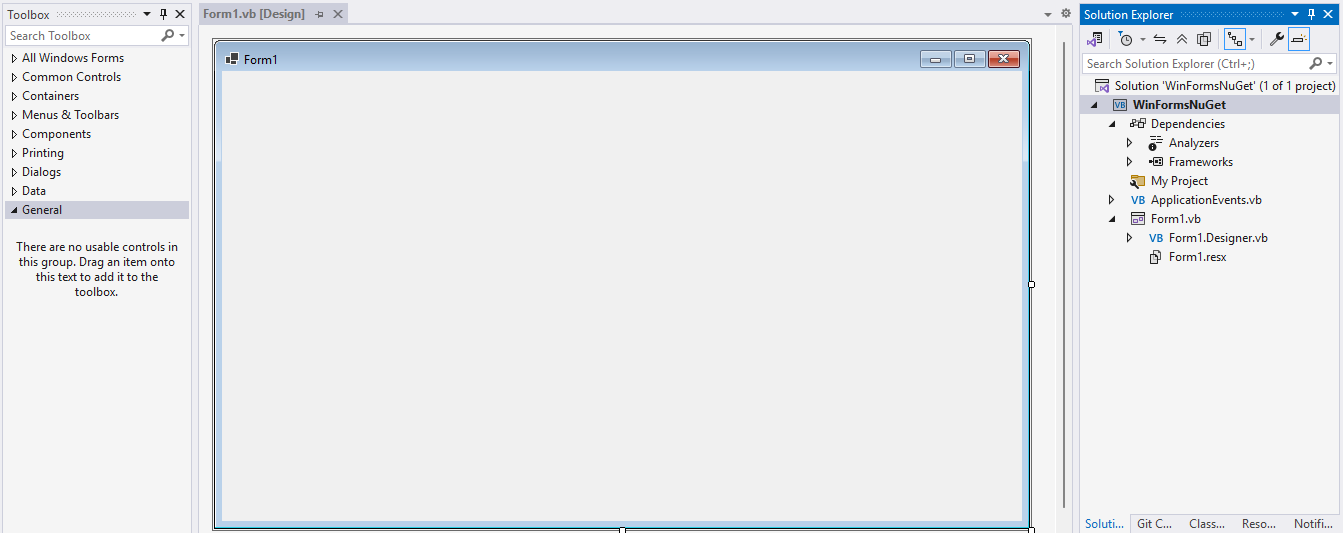
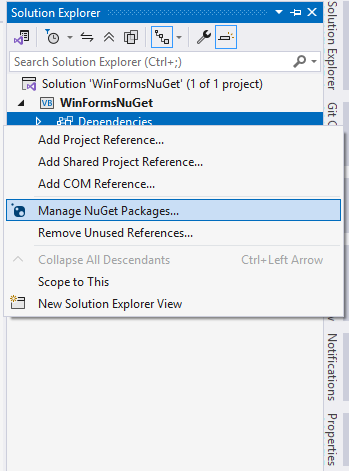
4. Right-Click the "Dependencies" item under the project and select "Manage NuGet Packages".
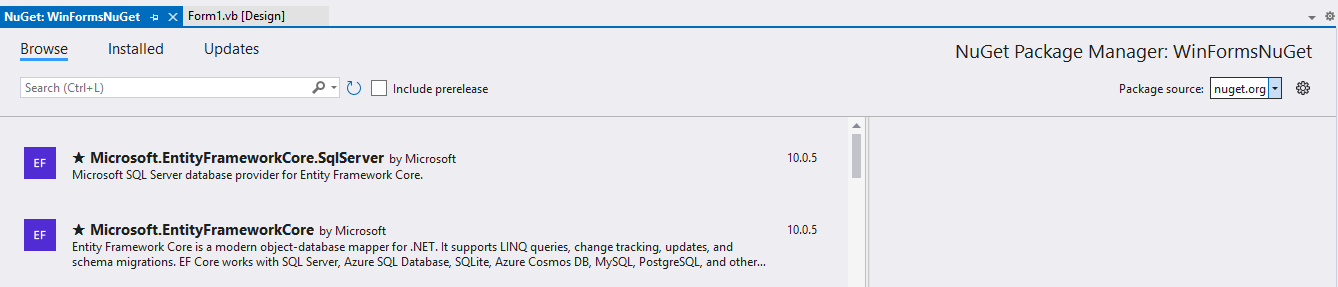
5. This will open the NuGet Package Manager in Visual Studio.
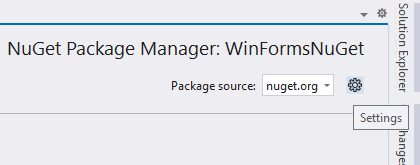
6. Click the "Settings" gear beside the "Package Source" dropdown.
7. You will see a listing of all current package sources.
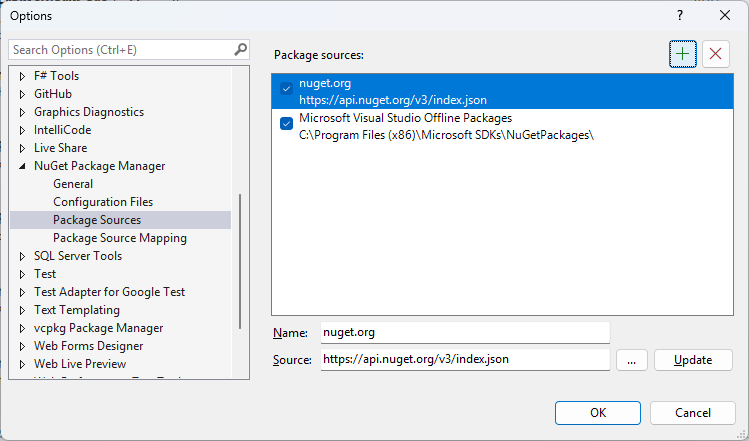
8. Click the Add button (green plus symbol) to create a new package source.
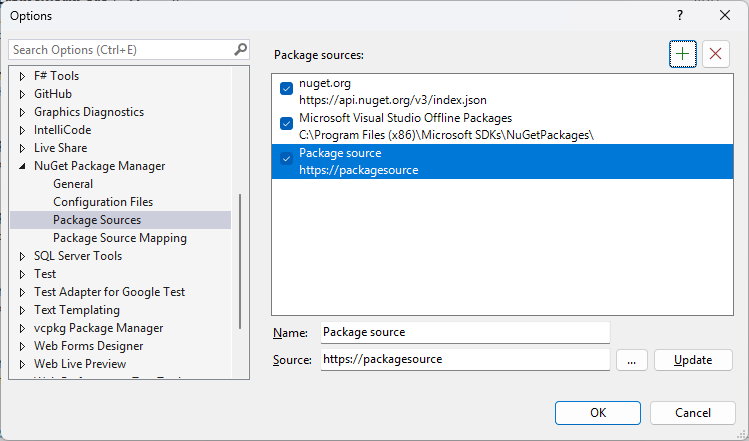
9. Adjust the "Name" and then set the "Source" equal to the directory created in step 1.
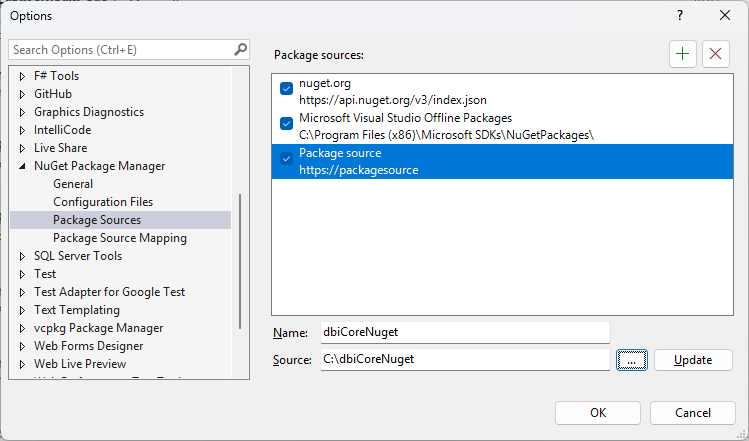
10. Click the "Update" button to properly assign your desired name and source values to the package source.
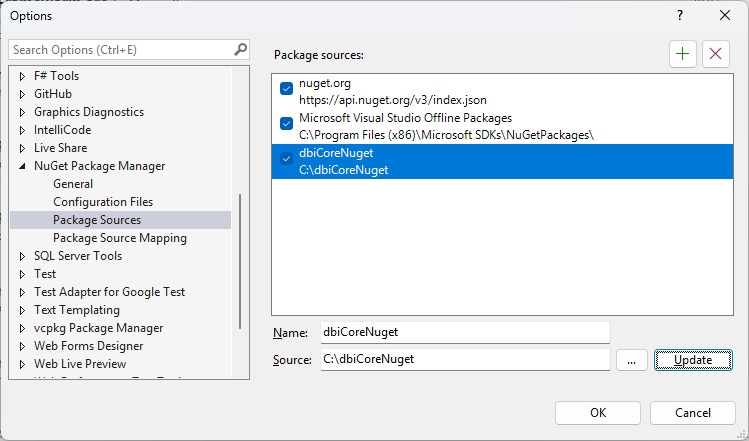
11. Click ok to close the settings window and then use the dropdown to select your new package source.
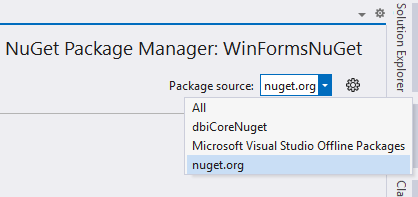
12. The NuGet packages from your local directory will now be listed for you to browse and select.